
Fire Pit Heat Shield Test Video Ad Script Ecommerce

Summarize with
Summary
Build a credible fire pit heat shield test video ad script for ecommerce with temperature comparisons, shot timing, safety disclaimers, and a reusable 30-second format.
By adsturbo.ai | Published 2026-11-12 | Updated 2026-11-12
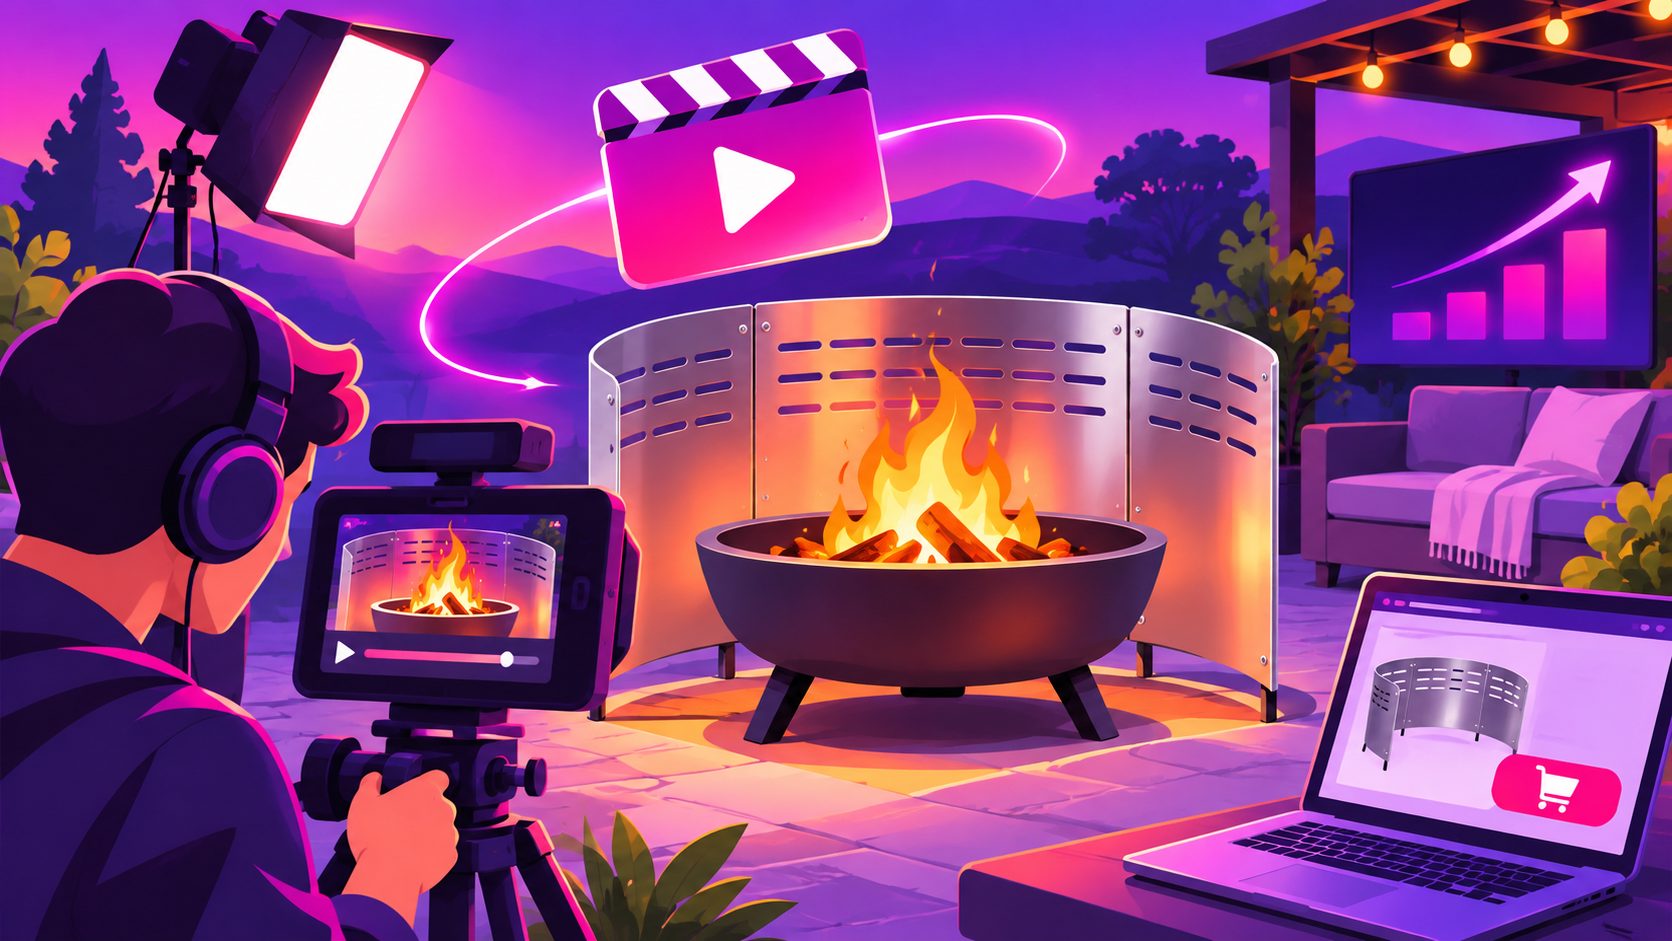
A strong fire pit heat shield test video ad script ecommerce concept should prove one specific question: how much heat reaches the surface below the fire pit with and without protection? The most persuasive format combines a controlled side-by-side test, visible temperature readings, clear product placement, and cautious claims that match the evidence on screen.
Most existing fire pit advertising focuses on atmosphere, portability, or warmth. Those angles can attract attention, but they do not fully answer the buyer’s concern about decks, patios, grass, and other outdoor surfaces. A temperature-led demonstration creates a more useful proof moment.
What should a fire pit heat shield test video prove?
A fire pit heat shield test video should compare identical conditions and show the temperature difference at the protected surface. It should not imply that one test guarantees safety on every lawn, deck, or patio.
The clearest setup uses:
- The same fire pit or burner
- The same fuel amount and burn duration
- The same ambient conditions
- One unprotected surface and one protected surface
- One infrared thermometer or thermal camera
- A visible timer and temperature overlay
Heat shields are not interchangeable with overhead heat deflectors. A shield beneath the pit addresses heat transfer toward the ground, while a deflector above the flame redirects heat outward. Product guidance also commonly requires an air gap and adherence to the fire pit manufacturer’s clearance instructions. (thebackyardshowdown.com)
For advertising, the most defensible claim is usually: “Here is what we measured in this setup.” Avoid converting one result into an absolute promise such as “safe on every surface.”
A controlled test method for the footage
Use a three-stage test rather than jumping straight to the final temperature. This creates a more credible story and gives the editor several proof shots.
Stage 1: Establish the baseline
Record the outdoor temperature, surface type, fire pit model, fuel, and starting temperature. Place the probe or thermal camera at the same marked location in every shot.
Use a simple slate such as:
“Test setup: same fire pit, same fuel, same burn time.”
Mark the measurement points with tape or chalk. For example:
- Center directly beneath the fire pit
- Edge of the heat shield or mat
- A nearby control point outside the test area
The control point helps viewers distinguish fire-related heat from normal ambient warming.
Stage 2: Run the side-by-side comparison
If possible, use two identical test areas. One should show the fire pit without the shield, while the other uses the shield according to the manufacturer’s instructions. If a simultaneous test is not practical, run the two conditions separately and show the same elapsed-time markers.
Record readings at consistent intervals, such as:
- 0 minutes
- 5 minutes
- 10 minutes
- 20 minutes
- Final reading after the selected burn period
Do not invent results in the script. Insert the measured values after filming:
“At 10 minutes: unprotected surface, [XX]°F. Protected surface, [YY]°F.”
This structure follows a useful proof principle: show the setup before showing the conclusion. Product testing coverage often loses credibility when it publishes a dramatic number without identifying the instrument, surface, duration, or environmental conditions. (thebackyardshowdown.com)
Stage 3: Show the surface after cooling
End with a cooled-surface inspection. Film the grass, pavers, deck board, or patio surface from the same angle used before the burn.
The visual sequence should show:
- Surface before the test
- Fire pit in operation
- Thermal or infrared reading
- Surface immediately after the test
- Surface after cooling
This does not prove long-term durability, but it gives the viewer a more complete record than a single temperature number.
30-second fire pit heat shield video ad script
The following script is designed for TikTok, Instagram Reels, Meta, YouTube Shorts, or product-page video. Replace bracketed values with actual test data.
0–3 seconds: The visual hook
Visual: Split screen. Left side shows the fire pit without protection. Right side shows the same fire pit over the heat shield. Add a thermal-camera view if available.
On-screen text:
“Where does the heat go?”
Voiceover:
“Fire pit heat can travel toward the surface below.”
3–7 seconds: Define the buyer problem
Visual: Close-up of grass, decking, pavers, or a patio surface beneath the fire pit.
On-screen text:
“Same fire pit. Two setups.”
Voiceover:
“So we tested the same fire pit with and without a heat shield.”
7–14 seconds: Show the method
Visual: Display the thermometer or thermal camera, fuel placement, timer, and measurement points.
On-screen text:
“Same fuel • Same position • Timed readings”
Voiceover:
“We used the same fuel, the same position, and recorded the surface temperature at fixed intervals.”
14–21 seconds: Present the proof
Visual: Show the side-by-side readings at the same timestamp.
On-screen text:
“After [X] minutes”
“Without shield: [XX]°F”
“With shield: [YY]°F”
Voiceover:
“After [X] minutes, the unprotected surface measured [XX] degrees. With the shield, it measured [YY] degrees in this test.”
21–26 seconds: Add the product benefit
Visual: Show the heat shield extending beyond the fire pit footprint, followed by a clean product close-up.
On-screen text:
“Designed to help reduce heat transfer below”
Voiceover:
“The shield creates a dedicated barrier between the fire pit and the surface beneath it.”
Do not show the product touching a hot metal base unless its instructions specifically permit that configuration. Some heat-shield guidance requires an air gap, and fire pit screens and deflectors can remain hot long after the flame appears to be out. (heatshieldproducts.com)
26–30 seconds: Close with a responsible CTA
Visual: Product shot, test setup, and a short safety note.
On-screen text:
“Check fit, clearance, and surface requirements.”
Voiceover:
“See the test details, confirm your surface requirements, and choose the right protection for your setup.”
The temperature comparison table to prepare before editing
A simple table makes the final video easier to trust and easier to reuse on a product page.
| Test condition | Starting temperature | 10-minute reading | Final reading | Surface observation |
|---|---|---|---|---|
| Without heat shield | [XX]°F | [XX]°F | [XX]°F | [Describe only what was observed] |
| With heat shield | [XX]°F | [XX]°F | [XX]°F | [Describe only what was observed] |
| Control point | [XX]°F | [XX]°F | [XX]°F | [Describe only what was observed] |
The most useful original framework here is the thermal proof ladder:
- Show the product
- Show the measurement method
- Show the timed reading
- Show the comparison
- Show the cooled surface
- State the limitation
This is stronger than simply displaying a “high-temperature resistant” badge because the viewer can understand how the result was produced.
How to adapt the script for ecommerce testing
Create three creative variants without changing the underlying test:
- Proof-first: Open with the thermal reading and reveal the setup afterward.
- Problem-first: Open with a close-up of a lawn or deck, then introduce the shield.
- Demonstration-first: Start with installation, followed by the timed comparison.
Keep the test conditions identical across all variants. Change only the hook, pacing, caption style, and CTA. This makes performance data easier to interpret than changing the product claim and the visual concept at the same time.
For additional production ideas, the ecommerce product testing video ads batch framework can help organize multiple hooks and formats. AdsTurbo also supports video subtitles that can be exported as embedded captions or separate subtitle files, which is useful for sound-off placements.
If the original footage is dark, compressed, or difficult to read, an AI video enhancer can improve the clarity of product close-ups and measurement overlays. Enhancement should improve legibility, not alter the recorded readings.
Common questions
Is a heat shield the same as a fire pit heat deflector?
No. A heat shield is generally positioned beneath or around the fire pit to help manage heat transfer toward the supporting surface. A heat deflector is typically positioned above the flame to redirect heat outward. Always follow the instructions for the specific product.
What temperature should the advertisement claim?
Claim only the temperature measured in the documented setup. Include the test duration, surface, measuring device, and whether the reading was taken at the center or edge.
Can the video promise that a lawn will not be damaged?
It should not make a universal promise from one test. Grass condition, moisture, wind, fire intensity, shield design, clearance, and burn duration can all change the outcome.
Should the script show the fire pit after the flame is extinguished?
Yes. A cooled-surface inspection adds useful context. Keep the fire pit stationary until it is fully extinguished and safe to handle, and include the manufacturer’s operating instructions in the final product-page content.
What is the best CTA for this type of ad?
Use a verification-oriented CTA rather than an exaggerated safety claim: “See the test details,” “Check fit and clearance,” or “Compare the measured setup.” This matches the informational nature of the demonstration and supports a higher-trust buying decision.