

Safety Shoes ANSI Puncture Test Video: A Proof-First Shooting Guide

Summarize with
Summary
Learn how to plan a safety shoes ANSI puncture test video with clear test evidence, ASTM claim discipline, and ecommerce-ready scenes. Build a stronger product proof story.
By AdsTurbo | Published 2026-11-02 | Updated 2026-11-02
A safety shoes ANSI puncture test video should do more than show a nail hitting a sole. It should identify the claimed protection, show a controlled test setup, separate puncture resistance from toe impact protection, and give shoppers evidence they can understand without turning a demonstration into an unsupported certification claim.
For US ecommerce sellers, the strongest video combines visible test mechanics, documented standards, and clear product labeling. This guide explains how to structure that proof.
What does an ANSI puncture test video need to prove?
An ANSI puncture test video is a product demonstration that shows how a safety shoe’s protective bottom resists penetration under a defined test method. It is not, by itself, a replacement for a laboratory report or certification document.
The first distinction matters: a safety toe does not automatically mean the shoe has puncture-resistant soles. ASTM F2413 covers several protective properties, including toe impact, toe compression, and puncture resistance when that property is claimed. Intertek also notes that puncture resistance is an applicable claim rather than a universal requirement for every protective shoe. (intertek.com)
Use the opening frame to establish four facts:
- The exact product model and size tested.
- The hazard being demonstrated: nail or sharp-object penetration through the sole.
- The claimed protection, such as a puncture-resistant designation.
- Whether the footage is a controlled demonstration or a formal compliance test.
Avoid saying “ANSI certified” unless the product documentation supports that wording. A safer ecommerce phrase is: “This video demonstrates the shoe’s puncture-resistance claim; refer to the product’s test report for official compliance details.”
How should the test be filmed for credible evidence?
The best sequence moves from product identity to test control, then to the result. Do not begin with a dramatic impact shot that hides the equipment, force, or sample condition.
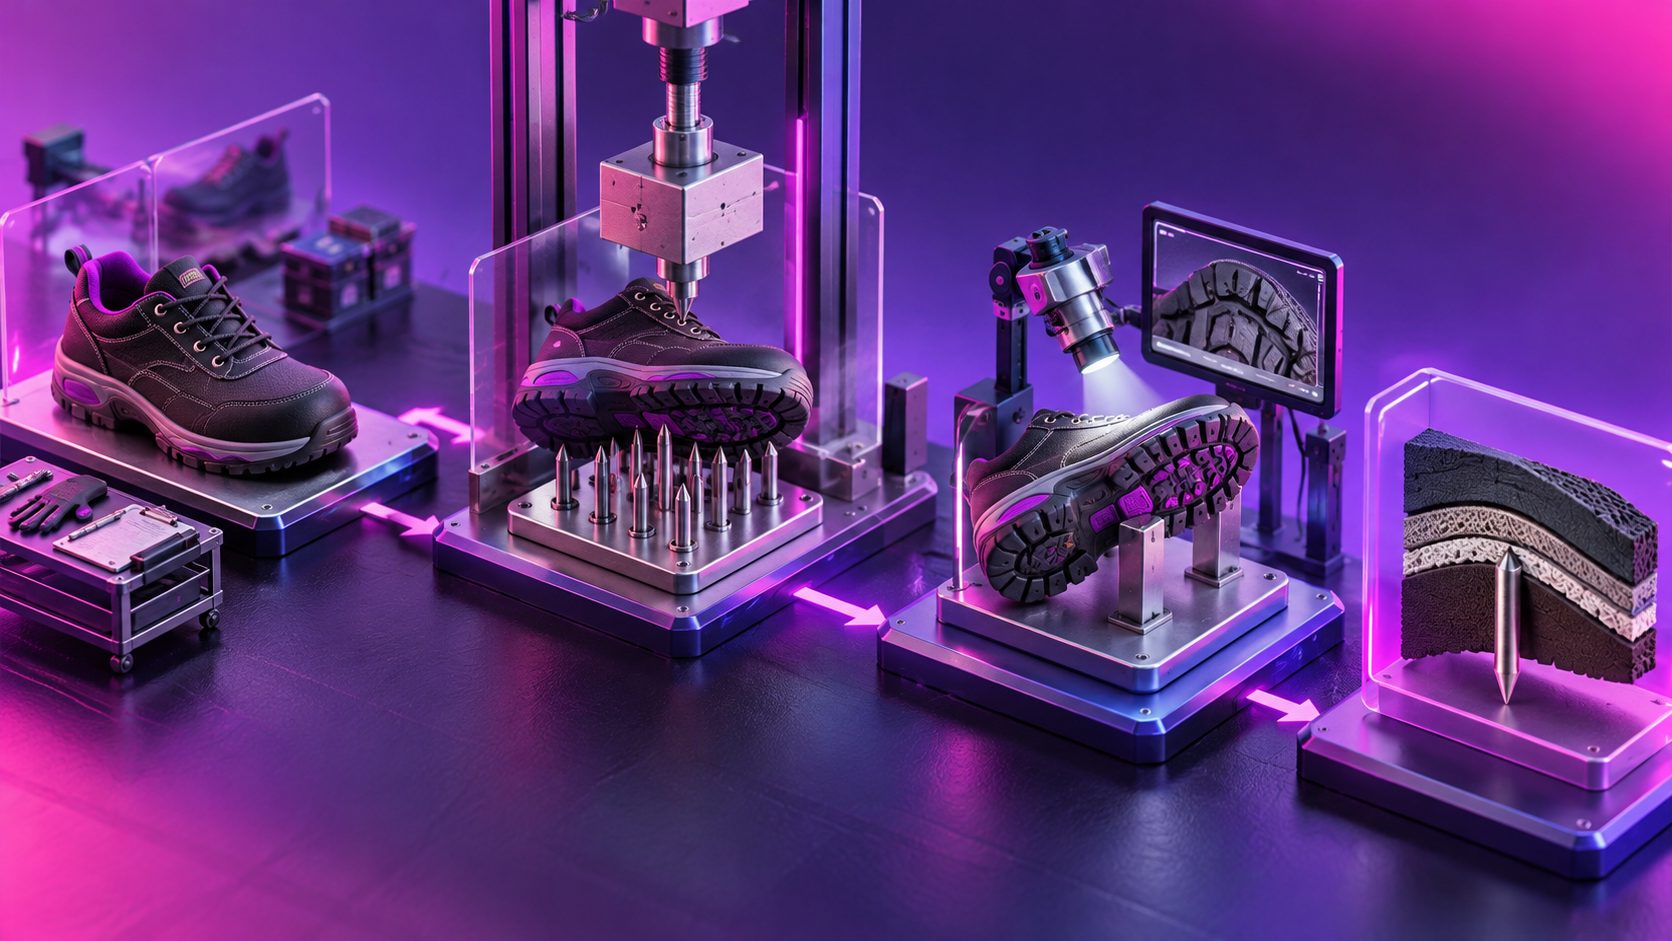
Recommended six-shot structure
-
Product identification
Show the outsole, upper, model label, and any relevant marking. Add on-screen text for the exact claim being tested. -
Cross-section or sole explanation
Use a cutaway sample, spare sole, or diagram to show where the protective plate or puncture-resistant layer sits. This helps viewers understand that the test concerns the bottom structure, not the toe cap. -
Equipment setup
Film the test fixture, probe or nail, shoe position, and measurement display in one wide shot. Follow with close-ups of the contact point and gauge. -
Pre-test inspection
Record the outsole condition, tread, protective layer, and sample number. A simple card such as “Sample 1 / unused / size 10 / outsole inspected” makes the result easier to audit. -
Controlled loading
Show the force increasing gradually rather than cutting directly to a final impact. Keep the display visible, use a fixed camera, and add a timecode. -
Post-test inspection
Remove the shoe from the fixture and show the inner face of the protective structure. Film whether there is visible penetration, cracking, delamination, or other damage.
This structure is more persuasive than a “nail versus shoe” stunt because it answers the shopper’s real question: what was tested, how was it tested, and what happened afterward?
What is the difference between puncture, impact, and compression tests?
Puncture testing evaluates the shoe bottom against sharp-object penetration. Impact testing evaluates the protective toe area when an object strikes it. Compression testing evaluates how the toe area performs under a crushing load.
| Test type | Hazard represented | Area shown in video | Claim language to control |
|---|---|---|---|
| Puncture resistance | Nails, sharp debris, pointed objects | Sole and protective midsole | “Puncture-resistant” only when supported |
| Toe impact | Dropped or striking objects | Toe cap | “Impact-resistant toe” |
| Toe compression | Crushing or heavy load | Toe cap and internal clearance | “Compression-resistant toe” |
| Slip resistance | Loss of traction | Outsole on a defined surface | Separate slip-resistance claim |
ASTM F2413 distinguishes protective properties rather than treating “safety shoe” as one blanket performance statement. A test report example for ASTM F2413-24 shows puncture assessment based on whether the test pin visibly penetrates after an applied force, while flex and corrosion are handled as separate evaluations. (safetyjogger.com)
That distinction should appear in the video. A product that passes an impact demonstration should not automatically be advertised as puncture-resistant, and a puncture demonstration should not be presented as proof of electrical, slip, or heat protection.
How much test detail should an ecommerce video include?
A useful product video does not need to reproduce an entire laboratory report, but it should show enough information to prevent misleading interpretation.
Include these overlays:
- Product: model name and tested sample
- Hazard: sole puncture resistance
- Method: controlled puncture demonstration
- Equipment: tester or fixture type
- Result: visible penetration or no visible penetration
- Documentation: “See test report for formal rating and scope”
Do not add invented force values, pass percentages, laboratory names, or certification marks. If a report specifies the force, display the documented value exactly. If it does not, describe only what the footage visibly demonstrates.
A practical original framework is the TRACE sequence:
- T — Target: identify the shoe and protective area.
- R — Risk: explain the hazard being tested.
- A — Apparatus: show the fixture and measurement setup.
- C — Condition: document sample state and test conditions.
- E — Evidence: show the result and post-test inspection.
This framework gives sellers a repeatable way to turn technical testing into a short-form proof asset without overstating the claim.
How can sellers convert the test into an ad without weakening trust?
The same footage can support several creative versions, but the first three seconds should change by audience.
For construction workers, open with the hazard: “What happens when a nail meets the sole?” For warehouse buyers, lead with the product benefit: “Protection designed for sharp-floor hazards.” For procurement teams, begin with documentation: “Watch the test setup before you compare safety footwear claims.”
Keep the strongest proof in the center of the video:
- Use a split screen for equipment display and contact point.
- Add captions for every technical term.
- Use a freeze frame before and after the load.
- Show the shoe interior or protective layer after testing.
- End with a restrained CTA such as “Review the product specification and test documentation.”
For TikTok, Instagram Reels, and YouTube Shorts, vertical editing and readable subtitles are essential. AdsTurbo’s video subtitle workflow for ecommerce content can help turn spoken test explanations into timed captions, while TikTok safe-zone layout guidance helps keep claim text away from interface overlays.
A longer product-page version can preserve the complete setup, while shorter ad variants can focus on the result, the outsole construction, or the documentation. AdsTurbo supports video resolution enhancement for product footage when the test display or sole detail needs clearer presentation.
Common questions about safety shoe puncture test videos
Does a steel toe prove puncture resistance?
No. Steel-toe or composite-toe protection addresses the toe area. Puncture resistance concerns the shoe bottom and must be supported by a separate claim or test scope.
Can a nail-and-hammer demonstration prove ASTM compliance?
No. It can illustrate a product feature, but a casual demonstration does not establish formal compliance. Use the official test report and applicable ASTM documentation for certification claims.
Should the video show a real foot inside the shoe?
No. A controlled fixture, cutaway sample, or empty shoe is safer and clearer. Never encourage viewers to recreate hazardous tests while wearing the footwear.
What should the final frame say?
Use precise language: “Demonstration only. Confirm the product’s official rating and test documentation before purchase or workplace use.” This protects clarity while still giving shoppers useful evidence.
Can one test video support multiple ad formats?
Yes. Create a full product-page edit, a 9:16 short-form cut, a square marketplace version, and a documentation-focused version. Keep the product identity and claim scope consistent across every export.
Final checklist for sellers
Before publishing, confirm that the video:
- Names the exact product or model.
- Separates puncture, impact, and compression claims.
- Shows the equipment and test setup.
- Documents the sample condition.
- Avoids unsupported “certified” language.
- Includes captions and readable claim text.
- Shows the post-test result.
- Directs buyers to official product documentation.
A credible safety footwear video does not need exaggerated destruction. It needs controlled evidence, careful wording, and a clear explanation of what the test does—and does not—prove.