
Smart Pet Feeder App Pairing Video Maker: Turn Screenshots Into Setup Videos

Summarize with
Summary
Create a smart pet feeder app pairing video from app screenshots, Wi-Fi steps, and product visuals. Use this practical workflow to make clearer Amazon and DTC demos.
By adsturbo.ai | Published 2026-11-04 | Updated 2026-11-04
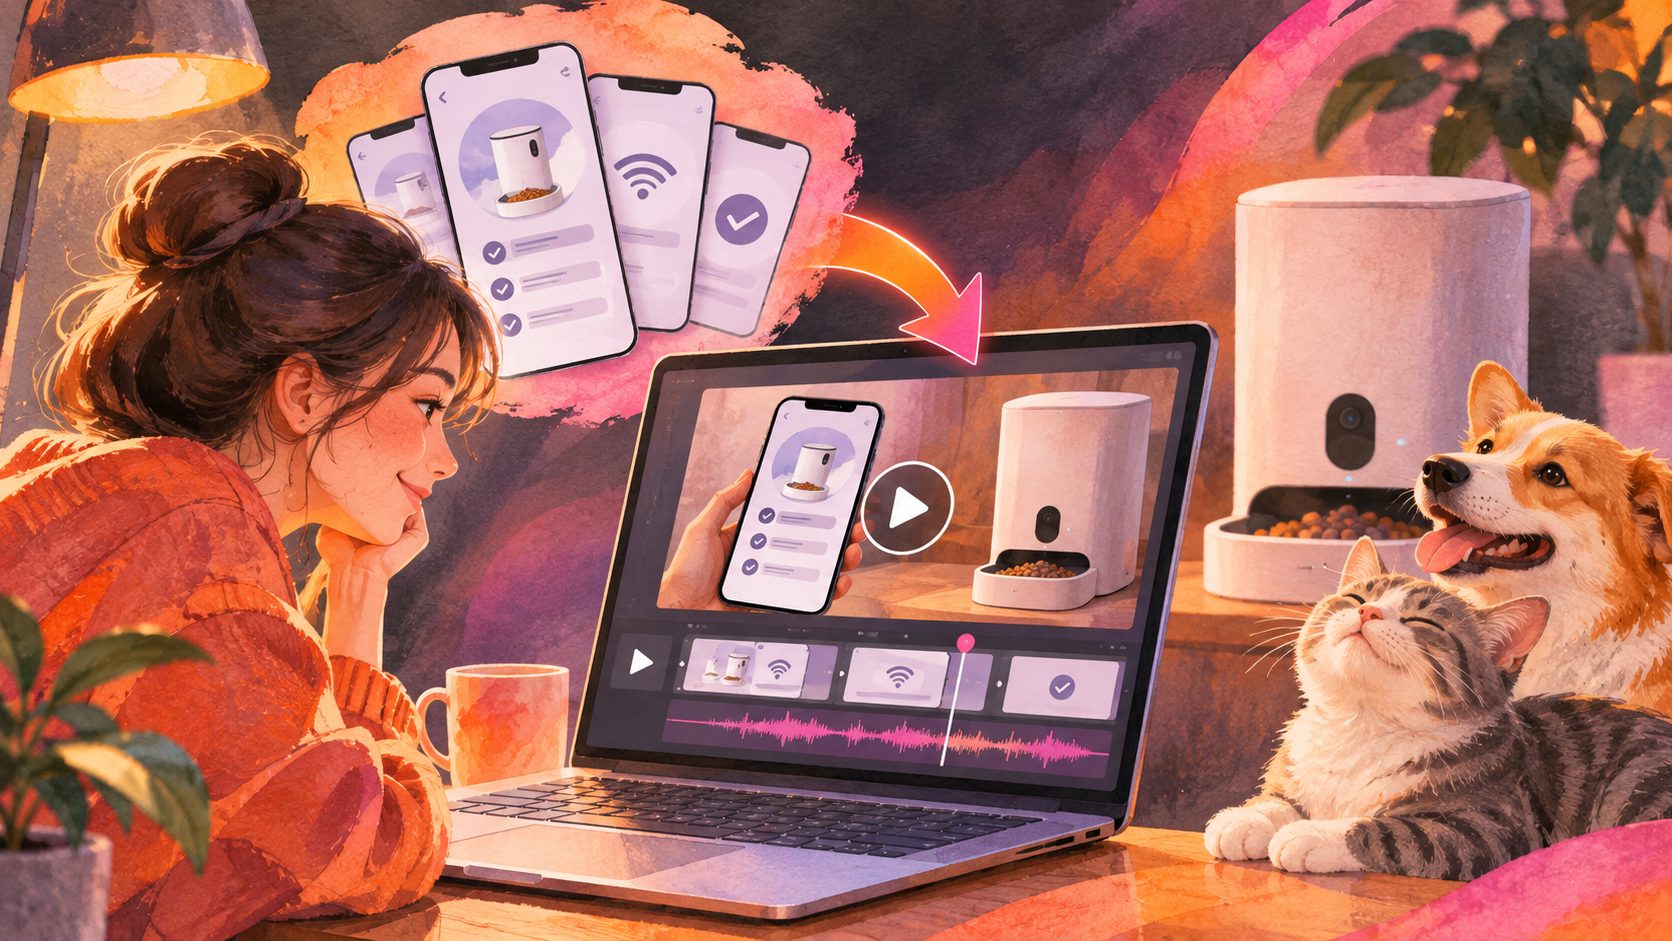
A smart pet feeder app pairing video maker turns mobile app screenshots into a short, visual walkthrough that shows customers how to connect a feeder, join Wi-Fi, schedule meals, and test remote controls. For Amazon and DTC sellers, this format can explain setup more clearly than a long manual while creating reusable product content for listings, ads, email, and support pages.
The strongest videos do not show every app screen. They guide one customer outcome: “Pair the feeder and complete the first useful action.”
What should a smart pet feeder app pairing video include?
A smart pet feeder pairing video should show the complete path from opening the app to confirming a successful device connection. Include the screens that prove each step, not decorative screenshots that do not help the viewer make progress.
A practical sequence is:
- Download or open the companion app.
- Tap Add Device or the equivalent pairing button.
- Select the feeder model.
- Connect the phone to the required Wi-Fi network.
- Scan a QR code or enter device information.
- Wait for the pairing confirmation.
- Open the live camera or feeding control screen.
- Create a feeding schedule or trigger a test portion.
- Show the final success state.
Many real-world feeder tutorials emphasize app installation, Wi-Fi pairing, scheduling, camera access, alerts, and backup power as separate customer questions. (youtube.com)
For a product page, a 30–45 second vertical video is usually easier to follow than a full technical walkthrough. Reserve longer versions for a help center or post-purchase email.
How do you turn app screenshots into a pairing video?
The most reliable workflow is to treat screenshots as evidence of a real action sequence. Add movement, captions, and a clear voiceover, but never invent a button, status message, or setup result that is not visible in the source material.
Step 1: Collect the right screenshots
Capture the app in a clean test account. Prepare screenshots for:
- Welcome or login screen
- Device selection
- Wi-Fi pairing
- QR-code scanning
- Connection progress
- Successful pairing
- Feeding schedule
- Camera or two-way audio controls
- Low-food or motion alert settings
- Manual feeding confirmation
Use the same phone frame, screen orientation, and display scale throughout. Hide private account details, passwords, home addresses, and unrelated notifications before uploading the images.
A screenshot-based demo is especially useful when the app interface changes frequently: replacing one screen is easier than reshooting a full product video. However, the screen must still represent the actual customer journey. The screenshot-demo workflow recommended by product-video practitioners follows the same principle: choose one outcome, capture only the screens that prove it, then apply consistent framing and captions. (30secondproductions.com)
Step 2: Write a one-action script
Use one sentence per screen. For example:
- “Open the feeder app and tap Add Device.”
- “Select your feeder model.”
- “Connect your phone to the supported Wi-Fi network.”
- “Scan the code shown on the feeder.”
- “Wait for the connection to complete.”
- “Set a meal time and test one portion.”
Keep technical details accurate. If a model requires a 2.4 GHz network, show that requirement in the video only when it applies to that model. Do not generalize one feeder’s setup rule to every product.
For a 40-second video, aim for roughly 80–100 spoken words, leaving enough time for viewers to read labels and watch the tap animation. The commonly cited app-demo guideline of about 140–160 words for a 60-second script supports this pacing range. (30secondproductions.com)
Step 3: Add visual motion without distorting the UI
Static screenshots feel more understandable when the video adds restrained motion:
- Zoom into the button being discussed.
- Add a cursor or tap indicator.
- Use a short highlight ring around the relevant field.
- Hold the connection result longer than the previous screens.
- Transition from the app screen to the physical feeder only when the action affects the device.
Avoid excessive spins, fake phone gestures, or rapid transitions. A pairing video is instructional content, so visual clarity is more important than cinematic effects.
AdsTurbo can support this production workflow with product video generation, clip-by-clip editing, subtitles, background replacement, and AI upscaling. For a product screenshot with a clean, solid background, its Product Image workflow can also help create supporting product visuals in JPG or PNG format.
How should the video prove that pairing worked?
A pairing video should show an observable result after connection. The best proof is not the loading animation; it is the first meaningful action that depends on a successful pairing.
Use one or more of these proof points:
| Proof point | What the viewer should see |
|---|---|
| Device status | The feeder changes to “Online,” “Connected,” or the actual status shown by the app |
| Remote feeding | A manual feed command triggers a visible portion |
| Camera access | The live view opens and displays the feeder environment |
| Schedule creation | A meal time is saved successfully |
| Alert setup | A notification or alert setting is visibly enabled |
| Device naming | The feeder appears in the user’s device list |
This “connection plus proof” structure is an important distinction from many basic setup videos. Official feeder support pages commonly separate connection, daily use, cleaning, schedules, and troubleshooting into different instructions. For an ecommerce video, combining pairing with one immediate success moment gives shoppers a faster understanding of the product’s practical value. (pawsync.com)
What formats work for Amazon and DTC stores?
Create one master edit, then adapt the framing for each destination.
Amazon product listing
Prioritize:
- Clear product identification
- App pairing steps
- One visible result
- Large captions
- Minimal background music
- No unsupported claims such as “works with every Wi-Fi network”
A product-page video should answer the buyer’s concern: “Will I understand how to use this after I buy it?”
DTC product page
A DTC page can use a slightly more persuasive structure:
- Show the feeder and app together.
- Present the setup problem.
- Demonstrate pairing.
- Show scheduling or camera monitoring.
- End with a direct product-focused call to action.
You can pair the tutorial with an Amazon PPC video ads launch strategy when planning listing and paid-search creative, or use the ecommerce product screenshot-to-video workflow to test several opening hooks.
TikTok, Reels, and Shorts
Use a 9:16 layout with captions inside the central safe area. Start with a practical hook such as:
“Pair your smart feeder before your pet’s next meal.”
Then show the first three taps quickly, slow down for the Wi-Fi step, and finish with the successful feed or camera view. AdsTurbo Video Subtitle can automatically transcribe speech, create timed captions, and export either a video with embedded subtitles or a separate subtitle file.
How can sellers create multiple versions efficiently?
Build a reusable screen library instead of making every video from scratch. Name files by action, not by upload date:
01_open_app02_add_device03_select_wifi04_pairing_success05_create_schedule06_manual_feed07_camera_view
Then create controlled variations around the same verified workflow:
- Short setup tutorial
- Camera feature demo
- Feeding schedule explainer
- “How to connect to Wi-Fi” support video
- New-customer onboarding clip
- Localized versions with translated captions
AdsTurbo supports video translation, AI upscaling, subtitles, and API-based workflows. Its API architecture uses Bearer API key authentication, while asynchronous tasks can be tracked through status polling or Webhook callbacks. That makes the workflow suitable for sellers or agencies producing repeated creative batches rather than one-off edits.
The key production rule is simple: change the hook, pacing, language, or proof point—but keep the actual pairing steps faithful to the app.
Common questions about smart feeder pairing videos
Can I make the video using only app screenshots?
Yes. Screenshots can explain the interface, but add a short product shot or result screen so viewers understand what the app controls in the physical feeder.
Should I show the Wi-Fi password?
No. Use a redacted test account and hide passwords, QR codes tied to real devices, customer names, and personal notifications.
How long should the tutorial be?
Use approximately 30–45 seconds for listing and social content. Create a longer version only when the product has more complex setup, multiple device modes, or troubleshooting requirements.
Should I show every app feature?
No. Show the minimum sequence needed to complete pairing and one useful follow-up action. Separate videos can cover schedules, alerts, camera monitoring, cleaning, or maintenance.
Can the same video work in several countries?
The visual sequence can be reused, but captions, voiceover, measurements, Wi-Fi terminology, and app labels should be localized and checked against the target market.
A clear pairing video is not simply an animated slideshow of screenshots. It is a proof-driven customer path: open the app, connect the feeder, confirm the connection, and demonstrate the first useful result.