
Ring Size Guide Video for Jewelry Ecommerce: A Conversion-Focused Script

Summarize with
Summary
Create a ring size guide video for jewelry ecommerce with clear measuring steps, fit warnings, and reusable AI video workflows. Build yours with AdsTurbo.
By adsturbo.ai | Published 2026-11-08 | Updated 2026-11-08
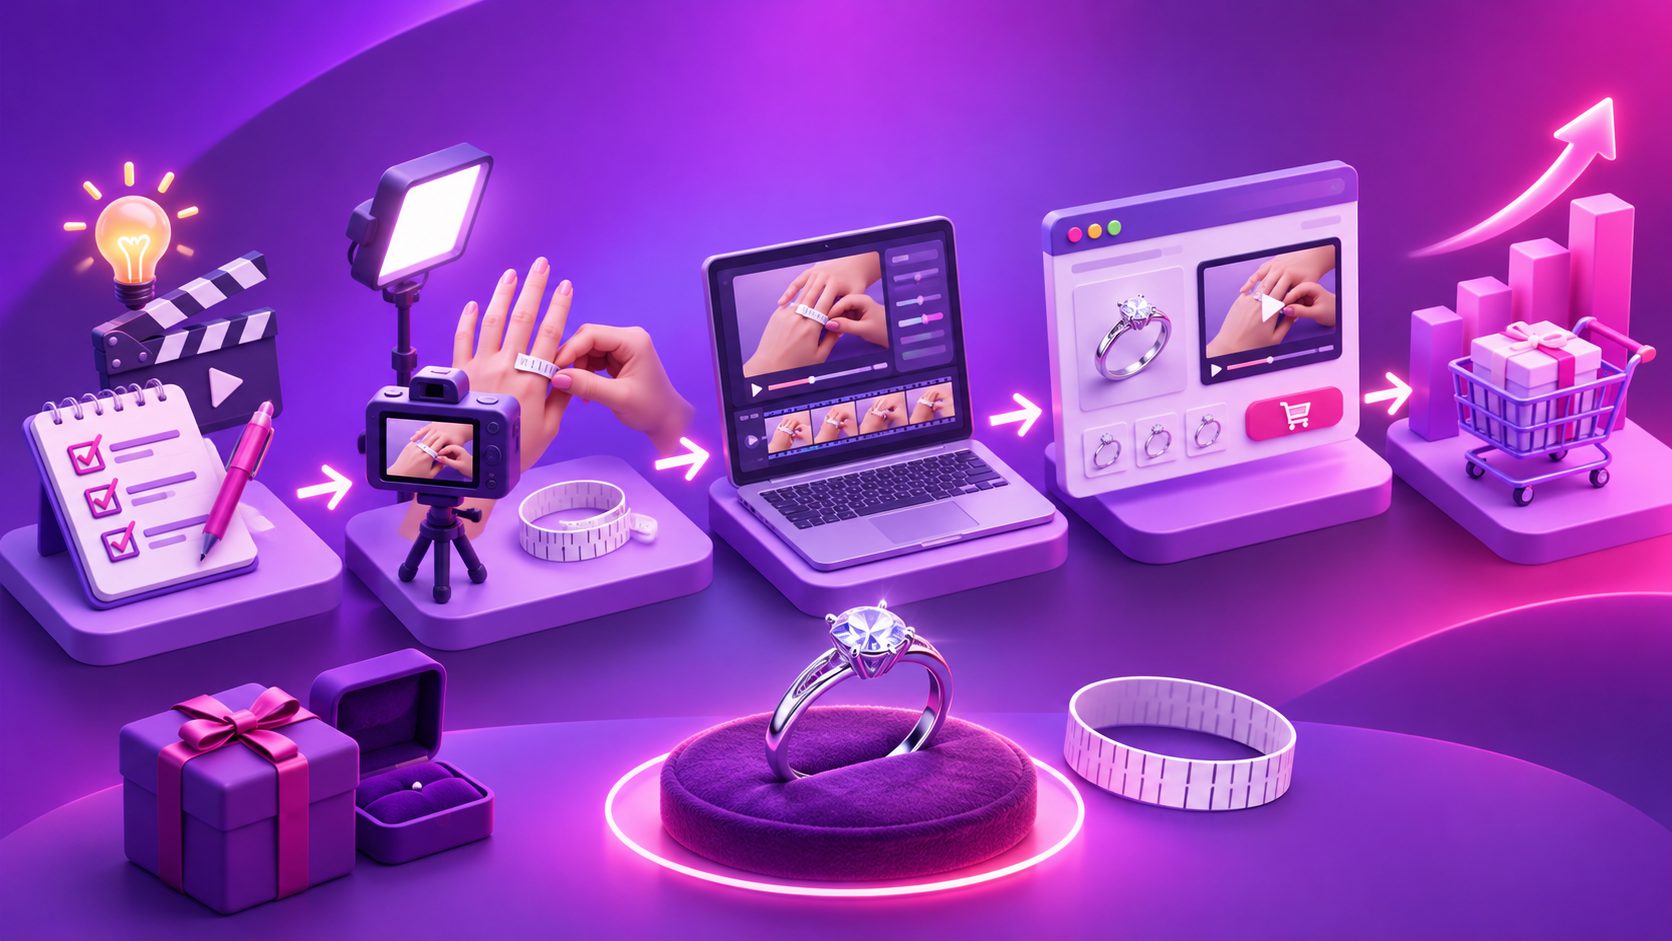
A ring size guide video for jewelry ecommerce should do more than explain how to measure a finger. It should remove uncertainty at the exact moment a shopper is deciding whether to buy. The strongest version shows the measuring method, explains common fit mistakes, and gives customers a clear next step before they add a ring to the cart.
For jewelry brands, this type of video can support product pages, email campaigns, TikTok Shop listings, Instagram Reels, and paid ads. It is especially useful for independent stores that cannot offer an in-person fitting experience.
What should a ring sizing video explain?
A ring sizing video is a short visual guide that shows shoppers how to determine the correct US ring size using an existing ring, a paper strip, or a professional ring sizer. It should also explain why the same nominal size may feel different depending on the finger, band width, temperature, and knuckle shape.
Most ranking pages cover the basic paper-strip method, existing-ring measurement, and a size chart. They often leave out the conversion problem: customers may complete the measurement correctly but still choose the wrong size because the video does not explain fit conditions.
A useful ecommerce video therefore needs four layers:
- Measurement: What to use and where to measure.
- Verification: How to check whether the result is realistic.
- Fit context: What changes for wide bands, large knuckles, or swollen fingers.
- Purchase guidance: What customers should do when their result falls between sizes.
Jewelers Mutual recommends professional tools such as a finger gauge or ring mandrel for greater accuracy, while jewelry retailers commonly provide home methods using paper, a ruler, or an existing ring. (ode3.jewelersmutual.com)
Which measurement methods belong in the video?
The best format uses two methods rather than forcing every shopper into one process. This creates a backup path when a customer does not own a well-fitting ring.
Method 1: Measure an existing ring
This is usually the clearest method for returning customers or gift buyers who can borrow a ring.
Show the customer how to:
- Select a ring that fits the same finger.
- Place it flat on a ruler.
- Measure the inside diameter across the widest internal point.
- Record the result in millimeters.
- Match the measurement with the store’s US size chart.
The ring should not be measured from its outer edge. A thick band or decorative setting can make the outside measurement misleading. The reference ring should also have a similar shape and width to the ring being purchased.
Method 2: Measure the finger with paper
For shoppers without a reference ring, use a narrow strip of paper or non-stretch string.
The video should show the strip wrapping snugly around the intended finger. It should be tight enough to touch the skin but loose enough to pass over the knuckle. Mark the overlap, measure the length in millimeters, and compare it with the store’s chart.
Avoid telling viewers to pull the strip as tightly as possible. That can produce a measurement that feels comfortable at the finger base but cannot pass over the knuckle.
Method 3: Recommend professional confirmation
For high-value rings, engagement rings, or unusual band designs, recommend confirmation with a local jeweler. A professional can compare the finger with sizing rings and measure an existing ring with a mandrel.
This is not a weakness in the ecommerce journey. It is a trust signal. Customers are more likely to believe a brand that explains when a home measurement may be insufficient.
What fit warnings prevent the most sizing mistakes?
A sizing video should include a short “before you choose” section. This is the information most often missing from simple ring-size charts.
Measure the correct finger
A ring size can differ between hands and fingers. The video should say: measure the finger where the new ring will actually be worn. Do not use a thumb measurement for a ring intended for the index finger.
Consider time and temperature
Fingers can feel different in cold or hot conditions. Avoid measuring immediately after exposure to extreme cold, intense exercise, or unusual swelling. Take two measurements at different times if the result seems uncertain.
Account for wide bands
A wide band generally feels more restrictive than a narrow band in the same nominal size. If your catalog contains bands with noticeably different widths, add a visual comparison rather than burying the advice in product-page text.
Check the knuckle
A good fit should stay secure without causing pain and should pass over the knuckle with moderate resistance. If the knuckle is significantly wider than the base of the finger, shoppers should measure both areas and contact the brand for guidance.
Resolve half-size uncertainty
When the measurement falls between two sizes, avoid presenting a universal rule. The correct choice depends on the ring width, finger shape, and how the customer prefers the ring to fit. Direct the shopper to the product-specific sizing note or customer support.
These fit factors are also highlighted in professional jewelry training materials, including guidance on wide bands, finger temperature, knuckles, and measuring the intended hand. (marketplace.axonify.com)
A 20-second script for a ring size guide video
A short, repeatable structure works well across product pages and social channels.
0–3 seconds — State the problem
“Not sure which ring size to order? You can measure at home in under a minute.”
3–8 seconds — Show the paper method
“Wrap a narrow paper strip around the finger where you’ll wear the ring. Keep it snug, not tight.”
8–12 seconds — Show the measurement
“Mark where the paper overlaps, then measure the length in millimeters.”
12–16 seconds — Add the fit warning
“Measure the correct finger, avoid cold hands, and remember that wider bands may feel tighter.”
16–20 seconds — Give the next action
“Match your measurement to our US ring size chart. If you are between sizes, contact us before ordering.”
This script is intentionally compact. The visual demonstration should carry the process, while the spoken words handle uncertainty and decision-making.
How can jewelry brands make the video more useful than a size chart?
The information gain comes from connecting measurement to the buying decision. A chart tells shoppers what a number means; a video should show how to obtain a reliable number and when not to trust it blindly.
Use these production choices:
- Show real scale: Include a ruler with visible millimeter markings.
- Use on-screen labels: Mark “snug,” “not tight,” “inside diameter,” and “same finger.”
- Show a mistake: Briefly demonstrate an overly loose paper strip and explain why it fails.
- Add product context: Show the actual ring’s band width beside a narrow band.
- Repeat the action: End with the size chart or product-page sizing button.
- Create platform versions: Export a vertical cut for TikTok and Reels, a square cut for feeds, and a horizontal cut for product pages.
AdsTurbo can support this production workflow with Product Video, Video Subtitle, AI Upscaling, and background replacement tools. Its Product Video workflow accepts JPG or PNG product images and can generate product review, introduction, or demonstration videos. Video Subtitle can transcribe speech and create synchronized captions, with layouts suited to TikTok, Instagram Reels, and YouTube Shorts.
For a broader product demonstration workflow, see this guide to creating a TikTok Shop product video. For close-up jewelry visuals, the jewelry macro video guide offers a useful approach to preserving sparkle, shape, and detail.
How to repurpose one sizing video across your store
A single master video can become several customer-facing assets:
- Product-page version: 20–30 seconds with full instructions.
- Paid-ad version: 10–15 seconds focused on the measurement problem.
- FAQ version: A slower cut with the paper method and fit warnings.
- Email version: A short preview linking to the full guide.
- Post-purchase version: A sizing reminder sent before fulfillment for made-to-order rings.
AdsTurbo supports long-video repurposing into captioned short videos, as well as translation and editing workflows. This lets a jewelry brand preserve the same measurement logic while adapting pacing, subtitles, and formats for different audiences.
Common questions about ring sizing videos
Should the video use string or paper?
Paper is usually easier to measure because it does not stretch. If string is shown, specify that it must be non-stretch and measured without pulling it tight.
Should a ring size video use US sizes?
If the store primarily sells to US customers, show US sizes first. International brands can add a conversion chart, but the video should keep one primary sizing system to avoid decision friction.
What if the customer is between sizes?
Explain that the choice depends on band width, knuckle shape, and preferred fit. Encourage customers to contact the store rather than making a blanket recommendation.
Can the same video work for every ring?
Not always. A narrow stacking ring, a wide band, and a ring with an interior contour may fit differently. Use a general guide, then add product-specific notes where the design changes the fit.
Where should the video appear?
Place it near the size selector, not only in a distant FAQ page. Customers need sizing help at the moment they choose a variant.
A well-designed ring size guide video for jewelry ecommerce turns an invisible source of hesitation into a clear product education moment. Show both core measurement methods, demonstrate the most common errors, explain fit conditions, and finish with a direct path to the correct size. That combination is more useful than a static chart alone—and easier to reuse across your entire sales funnel.